
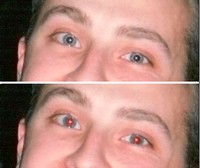
It can happen to anyone to take a photo with flash at twilight and end up with a result showing red eyes, like a horror movie. How to fix it? Here is the step-by-step tutorial to eliminate the red-eye effect from photos using Photoshop.

Add us to your preferred sources.

Here is the step-by-step tutorial for removing the red-eye effect from photos using Photoshop.
How many times have we taken photos of friends, for example during a party, only to discover that their eyes are unnaturally lit red? The cause of this problem is “physiological”: the pupils, in the absence of light, are more dilated and the flash’s burst penetrates inside the eye, reflecting off the retina, which is rich in blood vessels.

Using a good photo editing program, it is possible to correct this problem in a few moments; we also remind that many digital cameras have the ability to reduce this effect by emitting some flash bursts before the shot. The pupils, struck by the light, contract to significantly reduce the amount of light reflected on the retina, eliminating the annoying effect.

We should also keep in mind that poor environmental lighting increases the chances of getting a photo with the red-eye effect: when possible, move to a properly lit environment. If the photo has already been taken and nothing can be done, we can rely on Photoshop: open the photo and zoom in on the red-eye part to work with more control.
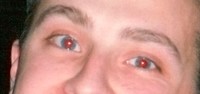
Choose from the Window menu > Arrange > New Window for… This command creates a new window for the image you are working on. Arrange the two windows so they are visible at the same time. In this way, while working on the zoomed image, we can monitor the result at the original size.
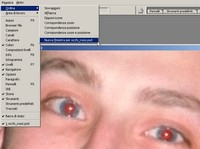
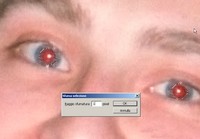
Select the red part of the eye with a circular selection. Choose from the Select menu > Feather… and set 1 pixel as the feather radius. At this point, you will be able to modify only the selected part of the image. Keep in mind that to remove the red-eye effect you can choose among many methods, also depending on the type of final result you want to achieve.
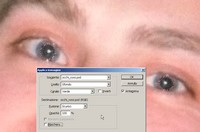
One of the simplest and most effective methods, especially if you want to fully preserve the reflections on the pupil, is the following. Select Image > Apply Image. In the window that appears, specify the green or blue channel as the source and use the Darken blending mode leaving opacity at 100%. The red-eye effect disappears completely in one click.
The method described in point 6 is among the simplest, but if you are not satisfied with the result, you can try another solution starting from the original image. Create a selection as seen in point 5 and proceed by creating a Hue/Saturation adjustment layer by clicking the New Adjustment Layer icon in the layers palette.
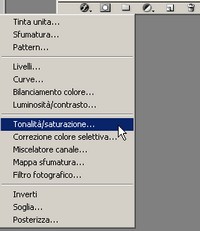
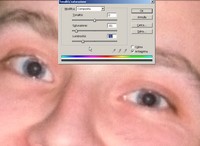
In the Hue/Saturation dialog box, significantly reduce the Saturation parameter (even down to -100) and reduce Brightness to a lesser extent (generally values around –30 are appropriate). The result is quite satisfactory but to improve it further you can set the adjustment layer blending mode to Multiply.
It is worth concluding by also analyzing a further possibility that Photoshop offers starting from the CS version: the Color Replacement tool. This new tool, whose use is similar to a normal brush, allows us to work on correcting red eyes without making any selection. Reopen the original image to see how it works.
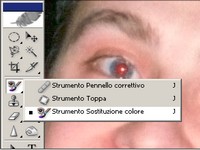
First, select the Color Replacement tool, which is in the toolbar below the Healing Brush. Choose the brush size aiming for a diameter slightly smaller than the part to be corrected and make sure the blending mode is set to Color. Set the brush Tolerance around 30% and choose a dark gray for the Color Picker.
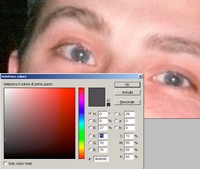
Click on the pupil colored red and then work on the image so that you replace the red with the gray you have set. If it is not possible to correct all the pixels, slightly increase the brush Tolerance parameter to completely remove the red-eye effect.
Be the first to comment