
In this space, you will find steps and tools to properly set up the creation of your thesis work, using Word.

Add us to your preferred sources.

In this space you will find steps and tools to properly set up the writing of your thesis work, using Word.
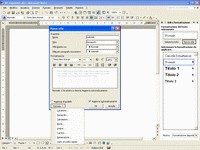
First of all, let’s correctly set up the page; select File > Page Setup…. In the Margins tab, choose the margins and, above all, the space to be reserved for binding; check that Normal is selected in the Multiple pages box. In the Layout tab, select Different first page for Header and Footer and choose the distances from the edges.

Before continuing, we need to organize the work. Normally, theses include, after the cover page, a page for dedications, the summary, the index, the introduction, the chapters, a section reserved for conclusions, any appendices, the bibliography, and acknowledgments; it is good to prepare a Word document for each individual topic to differentiate styles and formatting for each section.
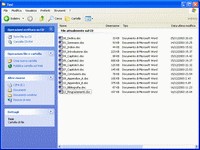
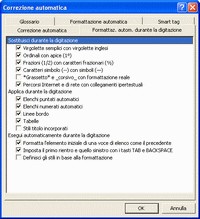
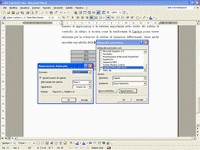
To have automatic control over the text we will insert, we use an option provided by Word XP; select Tools > AutoCorrect Options > AutoFormat As You Type. The window that appears offers various options to set the desired settings for our work; among these are also the entries related to automatic correction.
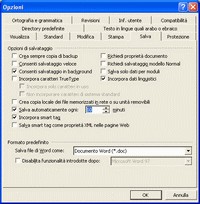
Before starting, select Tools > Options…; among the various items present, set not only the parameters related to Spelling and Grammar but also those related to the Save tab. It is advisable to properly establish how often to perform automatic saving; using an interval that is too short would slow down the work, but one that is too long might not protect the work from potential crashes.
Decide on the style and formatting to adopt for writing the thesis; by selecting Format > Styles and Formatting… we open a window on the right side of the screen. Use the entries that appear to set the properties of the text (type, size, and font characteristics) and paragraphs (alignment, spacing, tabs, format of bulleted and numbered lists).
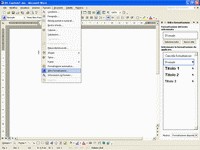
To have a personal style, select the entry related to the text you want to modify (e.g., Normal for the body text) and New Style; in the Name box, enter an identifier of your choice. The window we opened allows us to set many parameters; if we want to be even more precise, choose Format, from which we can access further configuration windows.
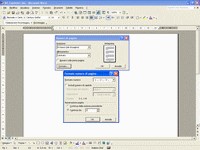
To insert the page number, select Insert > Page Numbers…; in the window that opens, choose the position where to display the number and whether to insert it on the first page. Using the Format… button, we can decide the type; also in this window, we can set the starting value of the numbering, which is useful if the work is split into multiple documents.
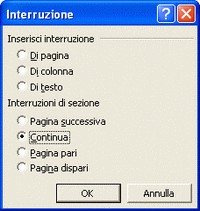
Use section breaks to separate various paragraphs and manage elements like formatting or other parameters more easily. With the cursor positioned where you want to insert it, select Insert > Break… and, in the window that appears, one of the options under Section Breaks; the Continuous option inserts the section separation without moving to a new page.
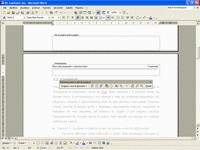
Insert page headers. By selecting View > Header and Footer the cursor is automatically brought into a section at the top of the page, where you can insert the desired reference, and a toolbar will appear; to differentiate headers between pages of different paragraphs, disable the Same as Previous option.
We want to insert formulas or mathematical symbols in our work; position the cursor at the desired point and select Insert > Object… > Microsoft Equation. In addition to the classic toolbar, a menu bar appears; in it, by selecting Style (and also Size) > Define we can set parameters valid for all formulas we will insert.
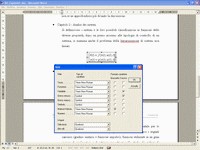
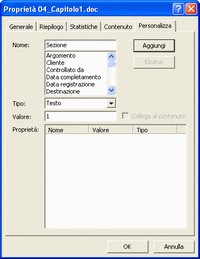
Automatically set the reference for formulas; as a reference, it is preferred to use labels linked to the section under review. First, select File > Properties and, in the Customize box > Name enter Section; in the Type box select Text and, finally, as Value enter the number or label of the section (e.g., 1 for Chapter1 or A1 for the first appendix).
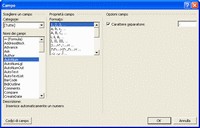
Near the formula, place a round bracket, select Insert > Field > DocProperty > Section, then OK. Insert a period next to the label that appears; select Insert > Field > AutoNum, choose the number format, optionally a separator character, and close the parenthesis. Copying the obtained element near other formulas, the second number updates automatically.
If you plan to use tables, you can define a standard format to ensure uniformity throughout the work; select Table > AutoFormat Table…. Choose whether to create a new table style (New…) or use one of the available ones with possible modifications (Modify…); from the window opened with the Default… button, set the chosen table as standard.
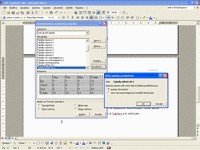
Captions can be associated with tables, images, and even charts that will be inserted; Word XP allows inserting such captions automatically upon inserting the element itself. Choose Insert > Reference > Caption… and, in the new window, AutoCaption…; here decide to which elements associate captions, the format, and the type of numbering.
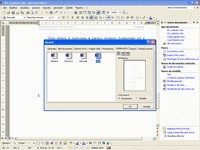
The steps illustrated so far allow, having prepared various elements, to work faster in drafting the thesis; an additional help can be obtained from a template present in Word XP. To use this example, select File > New… and, in the Task Pane that appears, General Templates…; in the new window choose Publications and, finally, Thesis.
Be the first to comment