
The end-of-year play must be advertised in the best possible way. For this purpose, a flyer is prepared to be hung on the bulletin board and distributed to all students at the school’s exit or entrance using Word.

Add us to your preferred sources.

The end-of-year play must be advertised in the best possible way. For this, a flyer is prepared to hang on the bulletin board and distribute to all students at the school’s exit or entrance using Word.
Let’s open a new Word document to work in the best way. From the View menu, choose Print Layout, and then adjust the zoom in the Standard Toolbar (or in View / Zoom) to see the right and left edges of the page. When working on a notebook with a reduced screen, a good value to set is 90%. Also, make sure the Ruler is visible by checking it from the View menu.

Let’s start by entering the text of our flyer without worrying about the layout or sizes for the moment. Remember that in a flyer, you need to express yourself with slogans, clearly and concisely. Separate the text into logical blocks with line breaks and activate the formatting marks viewer from the Toolbar.
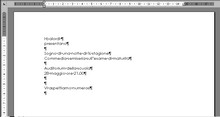
Now let’s give a rough arrangement to our text. For all operations to be performed on the text, it is advisable to recall the Formatting Toolbar. From the View / Toolbars menu, choose Formatting. Now select all the text from Edit / Select All (or with a triple left-click on the left side of the page outside the area bounded by the ruler).
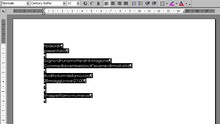
To choose the desired characteristics for our font, you can act directly from the displayed formatting bar or from the main menu, choosing Format / Font. In the dialog box that opens, start by choosing an easy-to-read font type (for example Arial) and an acceptable size for the flyer (at least 18), considering it must also be readable from a certain distance.
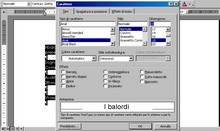
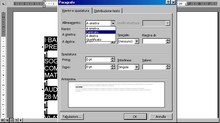
Also, for readability issues, it is appropriate to make our text all uppercase. Select all the text and then from the Format menu choose the Uppercase/Lowercase… option. In the small window that opens, choose the ALL CAPS option. With the text still selected, now open the Format / Paragraph menu. From the Indents and Spacing tab, choose Centered in the Alignment dropdown menu.
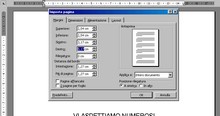
Now the text needs some adjustments. Use the line break command to separate the parts. Then adjust the margins to achieve the arrangement we want. From the File / Page Setup menu, in the dialog box, select the Margins tab and set the desired values. You can also act with the mouse pointer directly on the ruler, positioning it over the right and left margins.
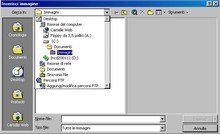
To add a bit of color to the flyer, let’s insert an image. Scroll all the text down by adding line breaks above the first line and then place the cursor at the top. Then from the Insert / Picture menu, choose From File… if you have a photo of the company (indicating the appropriate path) or ClipArt… if you don’t have original images.
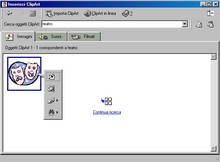
In our case, let’s search for a suitable ClipArt. The window that opens from Insert ClipArt displays all categories (such as Pictures, Sounds, or Movies). Besides increasing the number of clips by downloading them from the Internet or by inserting photographs, in this window we can perform searches by keywords. Typing “theater” offers an image. Click on it and choose Insert ClipArt Object.
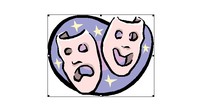
The image has been inserted, but the size is not adequate. Click with the mouse on the ClipArt so the borders appear. The small black squares that have appeared allow resizing the entire image (those at the corners) or only in the indicated direction (those in the middle of the side). With the pointer, take a corner square and resize the image.
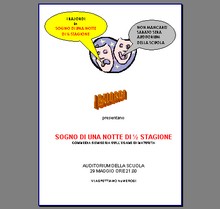
Call up the drawing toolbar from View / Toolbars / Drawing. In this toolbar, choose the Shapes option and then Callout. Among several shapes, choose a speech bubble by clicking on it. The pointer takes the form of a cross: this means the callout is ‘attached’ to the pointer until you drop it on the page where you click. Dragging the mouse, you can also define its width.

Duplicate the callout by selecting it (just click on it) and then choosing Edit / Copy and then Edit / Paste. Drag the second callout and place it in a position symmetrical to the first, near the other mask. To change the direction of the speech bubble cone, take the original yellow dot with the mouse and drag it where desired, in our case on the mouth of the mask.
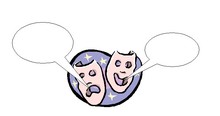
By working on the callout’s origin point and the border squares, you can position and size the callout as preferred. Now you can type text inside the callout after clicking inside it. The text can be edited normally, from the formatting toolbar or the Format menu. Also, in the drawing toolbar, we can choose the Fill Color button to fill the callouts with the desired color.
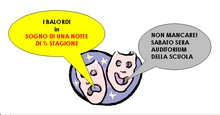
Now all the elements we wanted present in the flyer are there. Let’s check with an overview the arrangement of the elements in the text. From the File menu, choose Print Preview. From this view, we can notice the improvements still necessary: different positioning on the page, sizes, colors.
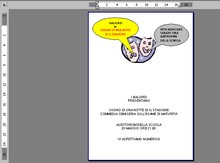
Surely it is necessary to highlight the company’s name. Select “I BALORDI”, then from the Insert / Picture menu choose WordArt… In the dialog box containing all shapes, click the one you prefer. Once the WordArt is inserted, clicking on it displays a formatting bar from which you can make changes.
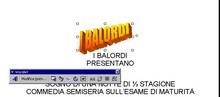
Final touches: delete the text “I BALORDI”
Be the first to comment