
Let’s see which Photoshop tools to use to create a simple business card ready for printing.

Add us to your preferred sources.

Let’s see which Photoshop tools to use to create a simple business card ready for printing.
In this tutorial, we will see how to create a business card ready to be printed. Let’s start by opening a new image, which will have particular characteristics: first, click on File > New. For width and height, we will set 8.5 centimeters and 5.5 centimeters respectively.

The resolution must be high. Let’s set 300 pixels per inch. Finally, we need to set the color mode, which will not be RGB but CMYK, that is, four-color process (The colors are made up of a layer of yellow, red, blue, and black). Then click OK. Don’t be alarmed if the image looks huge; this is normal, we’ll see later during printing.
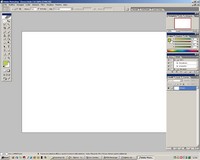
First of all, before starting the creation, let’s set the color palette from RGB to CMYK. Click the button to view the palette properties, which is located at the top right. Choose to display the CMYK sliders. We will see that the color composition method changes.
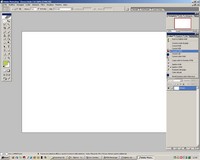
Now let’s think about creating the work background. We could divide the business card into two parts. On one side the logo and the name of the person/company; on the other side, all the data. But first, let’s set text margins for the card to be as precise as possible. Let’s start by showing rulers (View > Rulers).
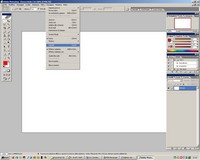
We will draw guides to mark the text margins. To do this, from the top and left ruler, hold down the left mouse button and drag down towards the image. A line called a guide will be dragged, which we will position as the image border and which will never be printed. Leave 4 equal borders for the four sides of the image.
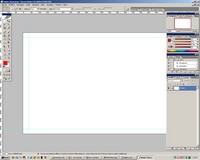
Now let’s start designing the background. Using the “Selection” tool, isolate one third of the image starting from the left and fill it with a color of your choice, preferably light. We can refine the drawn rectangle with a thinner and darker strip on the right side, created in the same way.
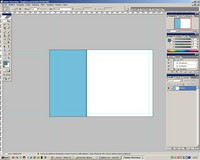
Now let’s see how to create a very simple logo to place at the top left. Take the “Custom Shape” tool found in the same group as the Rectangle, Ellipse, etc. From the properties bar at the top, choose the shape you like best.
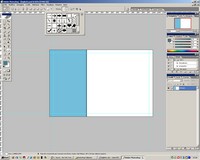
Once the shape is drawn, select the “Pen” tool from the toolbar, right-click and choose “Make Selection” from the menu that appears. Leave the feather radius set to 0. Now create a new work layer, which will be the layer dedicated to our logo.
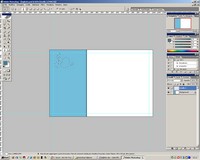
Now fill the logo (i.e., the active selection) with a color of your choice. Deselect it, and if you want, you can position the logo by moving with the arrow keys or using the “Move” tool with the mouse. In the next step, we will apply an effect to the logo layer.
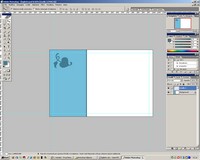
Click “Add a layer style” in the layers palette, making sure the logo layer is selected, and choose “Pattern Overlay.” This effect fills the layer with a texture. Photoshop provides some patterns for our images. Choose the one that seems most appropriate and click OK.
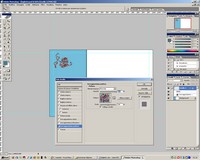
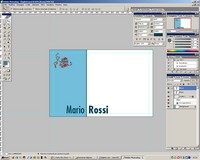
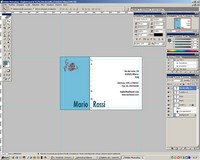
Now let’s start inserting text. First, insert the name of the business card owner like this. To the left of the darker vertical dividing line, place the first name; to the right, the last name in bold. To do this, use the text tool and a font and color that you find most appropriate.
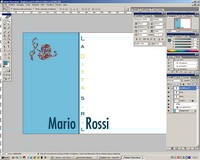
Now vertically insert the company name where Mario Rossi works. Using a smaller font and a different color, write the company name, for example, “La ditta s.r.l.” To change the text orientation and write vertically, from the text palette, select “Change Text orientation.”
At this point, only the general information remains, such as address, various phone numbers, internet, etc. Using a considerably smaller font and the text tool, write and align the information to the right and place it at the right border level (guide) that we drew.
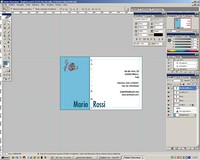
We can consider the creation of the business card complete and just need to try printing it. Photoshop offers a print option with preview: File > Print with Preview. We can see how the card stays centered and proportionate on the A4 page.
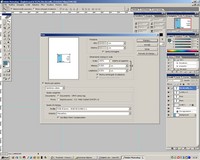
If necessary, we can also define a print scale to print the card larger or smaller. In conclusion, if we want, we can print normally, or save in the most common print formats while maintaining the high resolution and CMYK color.
Be the first to comment